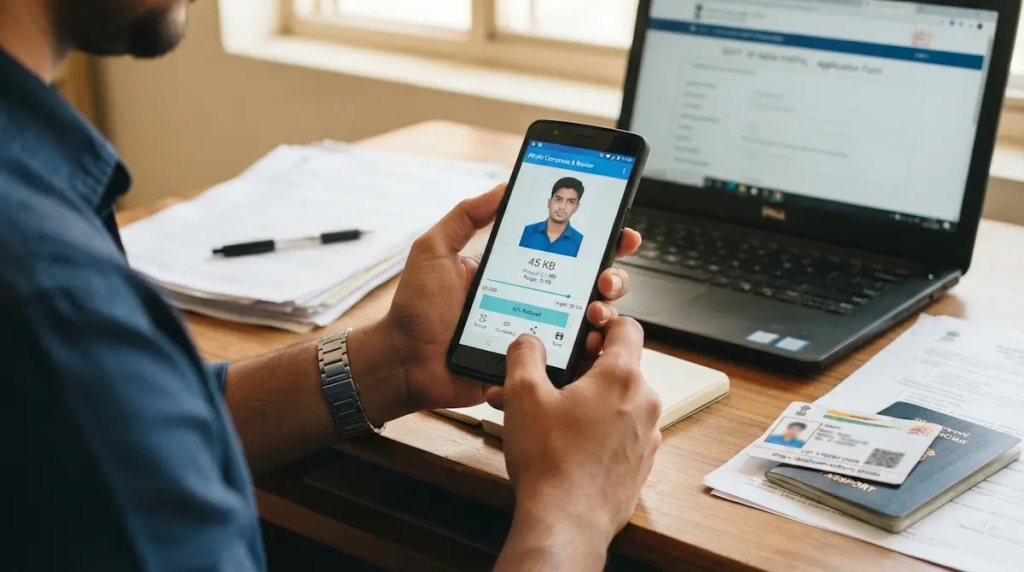
You filled the entire form carefully. Name, father’s name, address, everything double-checked. Then you clicked upload, waited two minutes, and the screen threw an error: “File size exceeds the maximum limit.”
If this has happened to you, you are not alone. Ask anyone who has applied for a certificate, scholarship, exam, or government job online, and they will tell you the same story. The form itself takes ten minutes. Fixing the photo takes an hour.
The frustrating part? Most people don’t even know why their file got rejected. The photo looks perfectly fine on the phone. So what’s the problem?
Let’s fix this once and for all. In this guide, I’ll explain why government portals are so strict about file sizes, what the common limits are, and three simple ways to resize your photos and documents — using just your phone, a free website, or your computer.
Why Do Government Portals Reject Large Files?
It comes down to two things: server load and storage.
Government websites handle lakhs of applications every day, especially during admission season or when a new recruitment notification drops. If every applicant uploaded a 4 MB photo straight from their phone camera, the servers would slow down or crash within hours. Smaller files mean faster uploads, faster processing, and less storage cost for the government.
There’s also a practical reason. The officer verifying your application doesn’t need a high-resolution portrait. They need a clear, recognizable photo that opens quickly on their system. A 40 KB image does that job just as well as a 4 MB one.
So the size limits aren’t there to annoy you. But yes, they do catch people off guard — because a normal smartphone photo today is 3 to 8 MB, which is 60 to 150 times bigger than what most portals accept.
Common File Size Limits You Should Know
Every portal has slightly different rules, but across most Indian government websites, the requirements look something like this:
| Document Type | Format | Typical Size Limit |
| Passport-size photo | JPG / JPEG | 20 KB – 50 KB |
| Signature | JPG / JPEG | 10 KB – 20 KB |
| Supporting documents (Aadhaar, marksheet, etc.) | 100 KB – 300 KB |
Always check the exact limit mentioned on the portal before uploading, because even 1 KB extra can cause a failed submission on some strict servers.
For example, if you are applying for a caste, income, or residential certificate through the RTPS Bihar portal, the photo must be under 50 KB and supporting PDFs under 200 KB — and oversized files are one of the biggest reasons applications fail there during final submission. The same pattern repeats on SSC, UPSC, state scholarship portals, and almost every ServicePlus-based government site in India.
Now let’s get to the actual fixing part.
Method 1: Resize Photos Directly on Your Phone
Since most people apply from their phones now, let’s start here.
Option A — Use your phone’s built-in editor
Both Android and iPhone can resize images without any extra app:
- Open the photo in your Gallery or Photos app.
- Tap Edit, then look for Crop or Resize.
- Crop the photo tightly around your face and shoulders (this alone cuts a lot of size).
- Save it as a copy.
On many Android phones, simply cropping and re-saving can bring a 4 MB photo down to under 500 KB. It may still not be small enough for a 50 KB limit, but it’s a good first step.
Option B — Use a free resizer app
Apps like Photo Compress & Resize or Image Size (both free on Play Store) let you set an exact target. Just open the app, select your photo, type the target size (for example, 45 KB), and export. Done in under a minute.
One tip: always aim slightly below the limit. If the portal says 50 KB, target 40–45 KB. This gives you a safety margin, because some portals calculate file size a little differently.
Method 2: Use a Free Online Tool (No App Needed)
If you don’t want to install anything, online compressors work brilliantly. My personal favourite is Squoosh — it’s a free tool made by Google, works right in your browser, and shows you a live before/after preview.
Here’s how to use it:
- Open squoosh.app in Chrome.
- Drag your photo in (or tap to select it).
- On the right side, choose MozJPEG as the format.
- Move the Quality slider down until the file size shown at the bottom is under your limit.
- Download the compressed image.
The best part is you can see the quality while adjusting, so you never end up with a blurry, unusable photo. Other reliable options include iLoveIMG and TinyPNG — all free, all simple.
A small privacy note: for sensitive documents like Aadhaar, prefer tools like Squoosh that process the image on your device instead of uploading it to a server.
Method 3: Resize on a Computer (Windows)
Applying from a laptop or a cyber café? Windows has everything built in.
Using Paint:
- Right-click the photo → Open with → Paint.
- Click Resize in the toolbar.
- Select Percentage and enter something like 30 or 40.
- Click File → Save As → JPEG.
Check the new file size by right-clicking the saved file and choosing Properties. If it’s still too big, repeat with a smaller percentage. Two rounds of this usually gets any photo under 50 KB.
Don’t Forget the PDFs
Photos are only half the battle. Most portals also want your supporting documents — Aadhaar card, marksheet, self-declaration — as PDFs under 200 KB or so.
If you scan documents with your phone camera and convert them to PDF, the file often crosses 1 MB easily. Here’s how to shrink it:
- Scan smart: Use apps like Microsoft Lens or Adobe Scan instead of the camera. They automatically crop, straighten, and compress the scan.
- Lower the DPI: For government uploads, 100–150 DPI is more than enough. Anything higher just wastes space.
- Compress after scanning: Free tools like iLovePDF’s “Compress PDF” option can cut a 1 MB file down to under 200 KB in one click.
- Scan in black and white: Unless colour is specifically required, grayscale scans are much smaller and often clearer for text documents.
Quick Tips to Avoid Rejection
Before you hit that final submit button, run through this checklist:
- Format matters. If the portal says JPG, don’t upload PNG or HEIC. iPhones save photos as HEIC by default, so convert them first.
- Keep the photo recent and clear. Compressing is fine, but if you squeeze the quality so much that your face isn’t recognizable, the verifying officer can reject it manually.
- Name your files simply. Use names like photo.jpg or aadhaar.pdf. Some older portals fail on file names with spaces or special characters.
- Save originals separately. Keep a folder on your phone with the resized versions ready. You’ll need the same photo and signature again and again for different applications, so prepare once and reuse.
- Upload during off-peak hours. Early morning or late night uploads fail less often on busy government servers.
Final Words
Resizing a photo sounds like a small, boring task — until it’s 11:50 PM, the application deadline is midnight, and the portal keeps rejecting your upload. Trust me, half of India has lived that exact moment.
The good news is that once you’ve done it a couple of times, the whole process takes less than five minutes. Keep a resized photo (under 45 KB), a signature (under 15 KB), and compressed PDFs of your key documents saved in one folder, and you’ll never face a last-minute panic again.
Have a favourite tool or trick for compressing photos that I missed? Share it in the comments — it might save someone else’s application.